Upload and manage data
Bring instrument files into EpistaBase and understand their processing state.
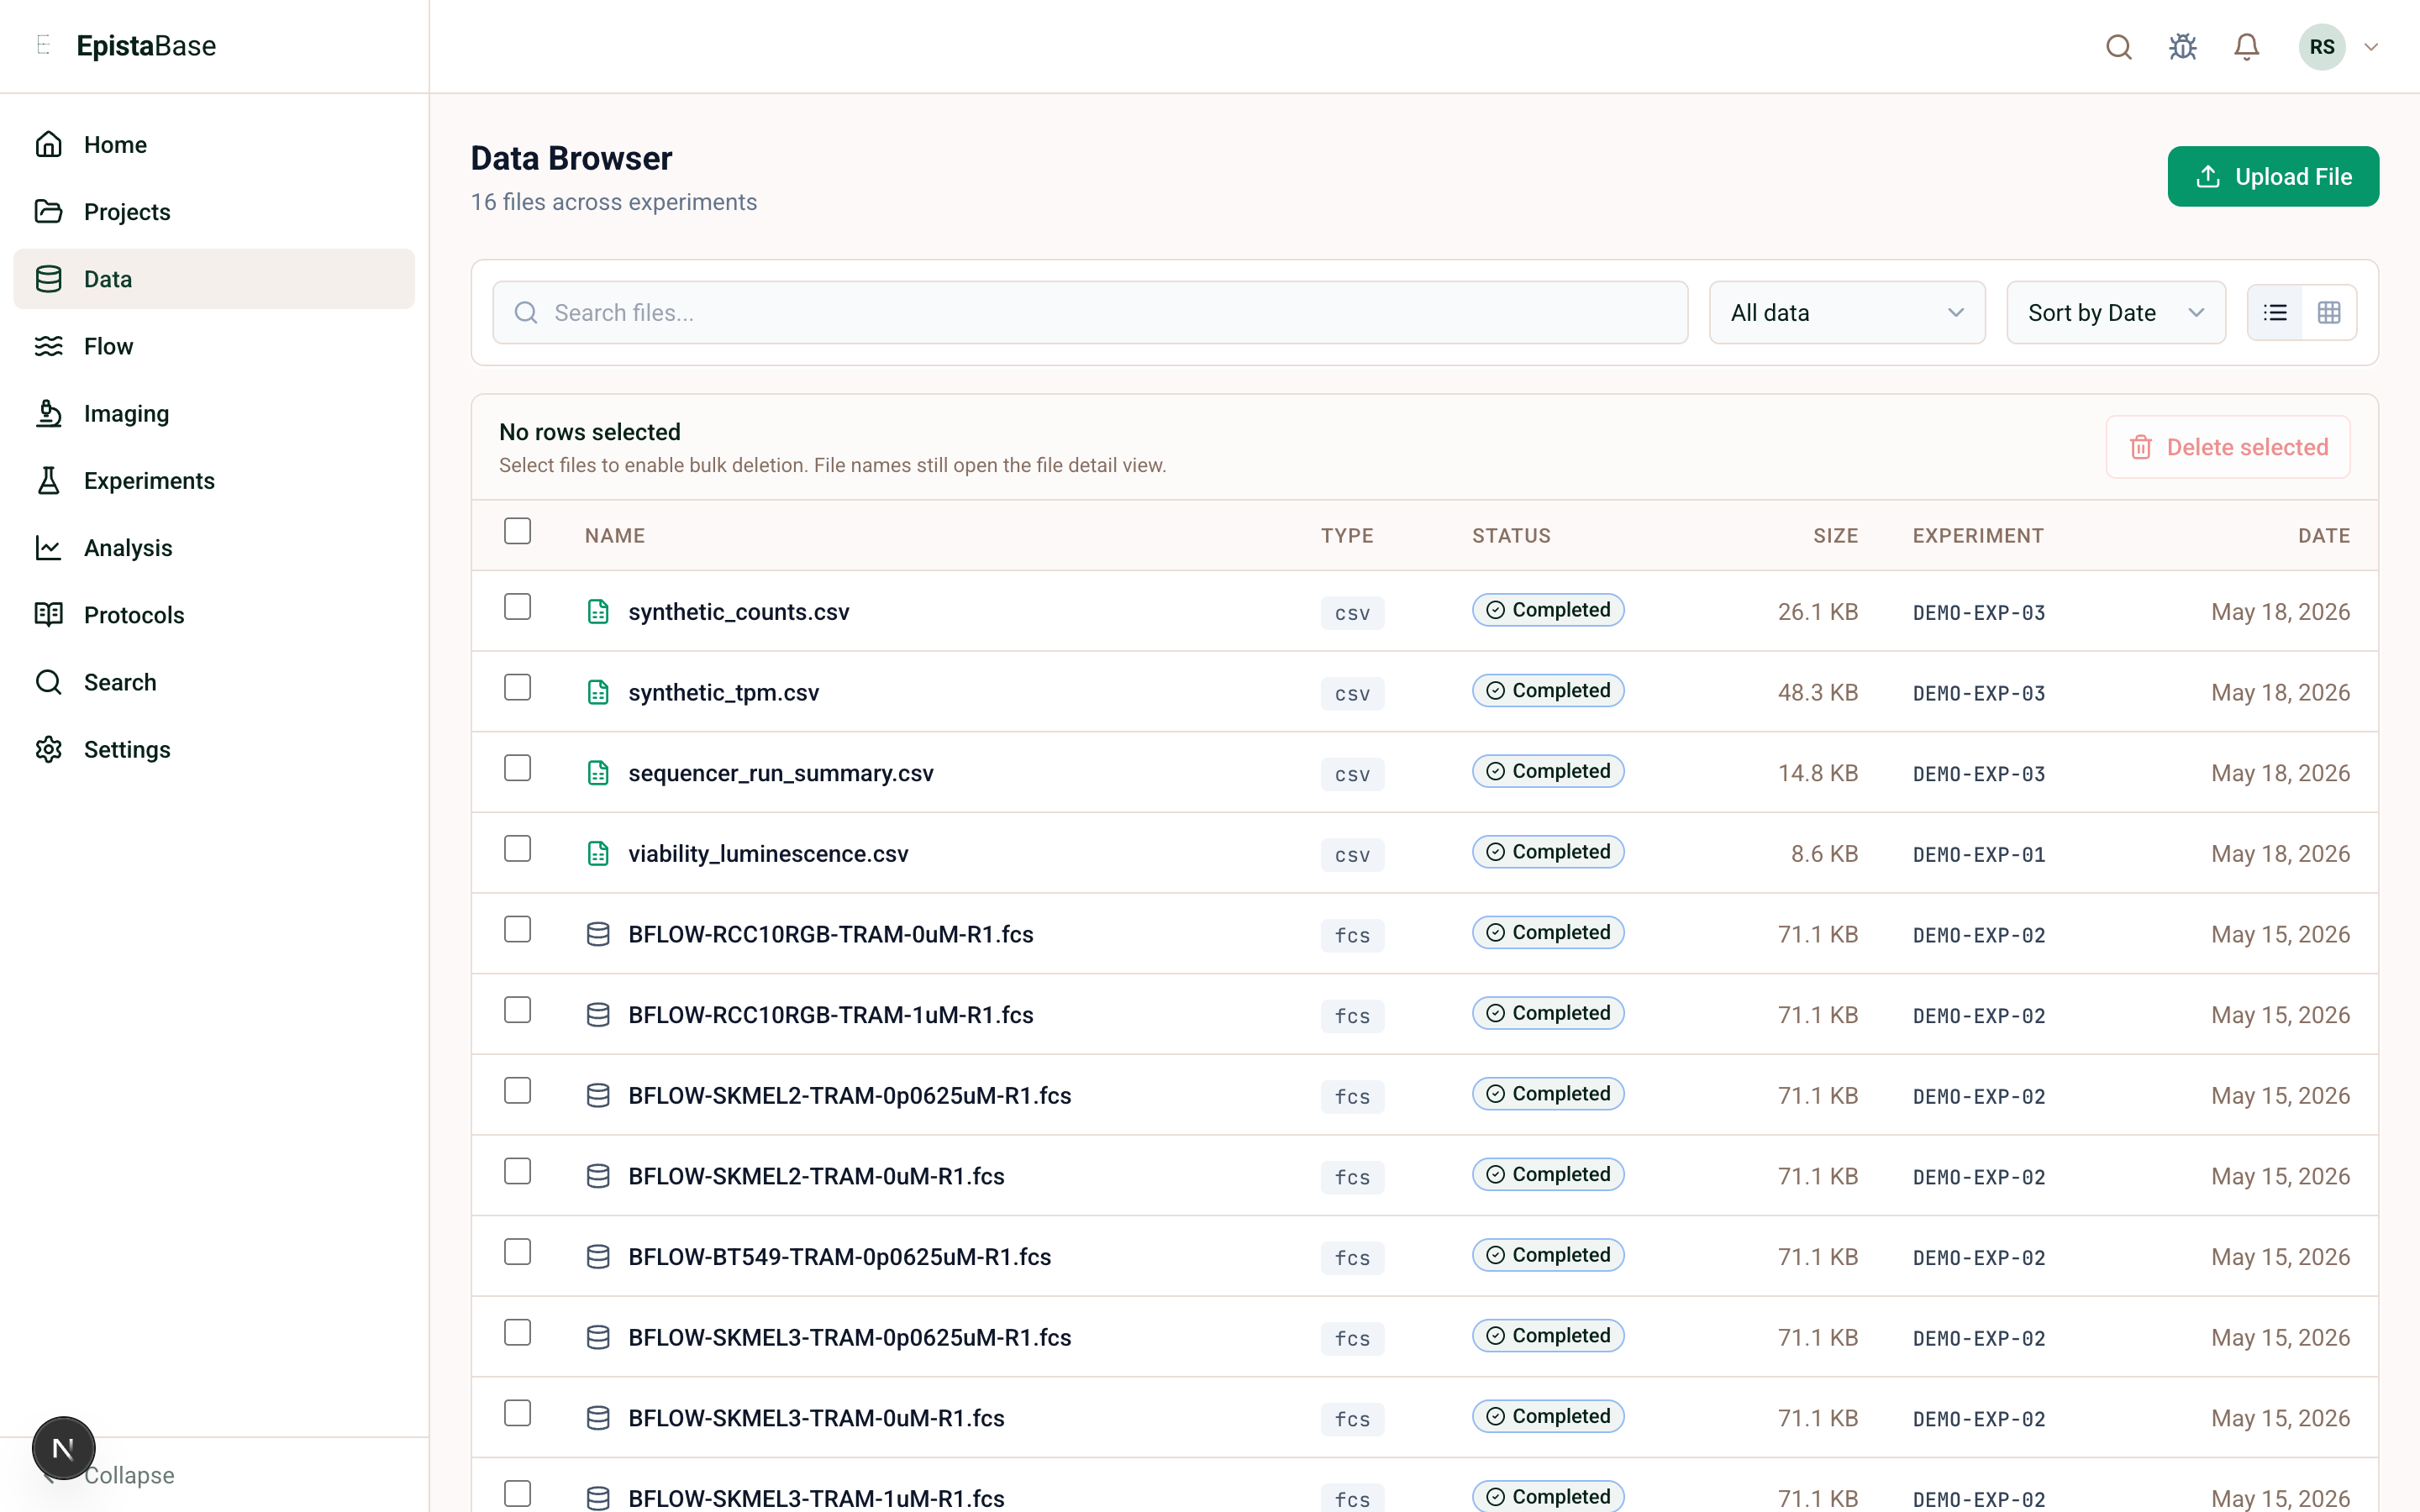
The Data area is where files enter EpistaBase. You can upload standalone files, but experiment-linked uploads are better because they immediately attach the file to the scientific record.
Upload a file
- Open Data.
- Choose Upload.
- Select the file type if the UI asks for it.
- Choose the file or batch.
- Watch upload and processing status.
When you upload from inside an Experiment, EpistaBase can create the Data entry in the right context. Prefer that path for assay data you plan to analyze.
What processing does
After upload, EpistaBase:
- Detects the format.
- Validates that the file is readable.
- Extracts metadata such as channels, dimensions, columns, markers, or features.
- Creates a preview or viewer artifact when the format supports it.
- Registers catalog assets and lineage where parsed outputs are produced.
If processing fails, the file records the failure reason. It should be possible to tell whether the issue is unsupported format, malformed file, missing object, or parser failure.
Supported upload families
EpistaBase recognizes common biological file families: flow cytometry FCS, tabular CSV/TSV/XLSX, qPCR vendor exports, sequence files, images, microscopy/whole-slide formats, FASTQ/VCF-style genomics files, and attachments. See Supported formats for the longer reference.
What to do after processing
| File type | Next step |
|---|---|
| FCS | Open Flow or the read-only Flow viewer. |
| Whole-slide image | Open Imaging or the microscopy viewer. |
| CSV/XLSX | Inspect preview, query through SDK or Analysis, or use app-specific workflows. |
| Sequence | Open Molecular Biology or the sequence viewer. |
| Notebook output | Publish figures/tables back to the Experiment. |